To create a Native Campaign, click on the New Campaign tab at your screen’s top right corner.

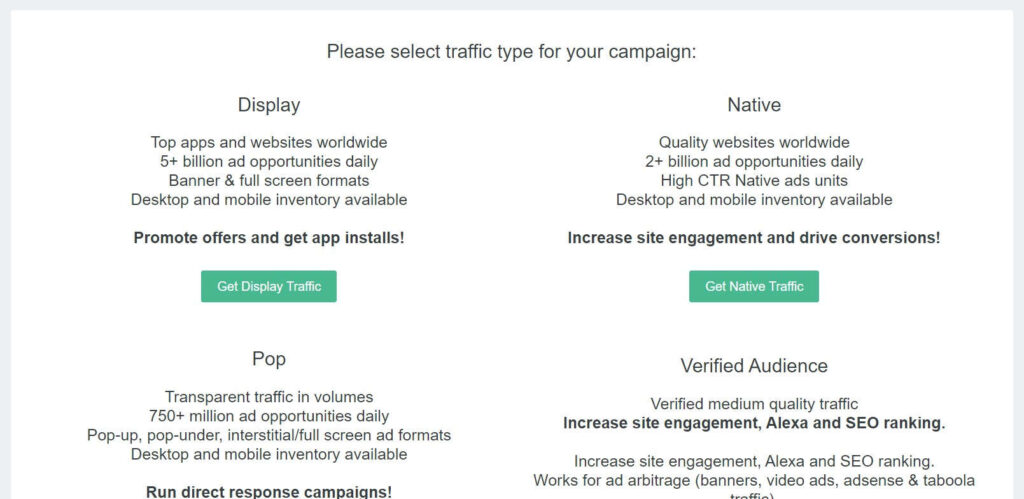
On the new page you’re directed to, look for the Get Native Traffic tab and click on it.
You’ll be taken to a page where you’ll be required to enter your campaign settings. Here you can give your traffic campaign a name or use the one provided.

Next, you have to enter a Destination URL, which is the domain you will advertise. Please make sure that you enter your URL correctly.
You also have an option to add a Google Analytics tracking code. Adding a code will enable you to track the website traffic you receive from your native ad in your analytics.
Below this, you can check the different macros available on our network.
Add a Call to Action, which shows your campaign goal. It could be sign up, shop now, contact us, etc.
You can also add the Ad preview information by clicking on Generate from URL or by editing it yourself. It is possible to add another or multiple ads below this.
Then enable tracking types, you can select one of the following options Pixel, Image, or Postback request. Follow the instructions written under each selection choice. Please note, this allows you to send the information about conversion to the BuyWebTrafficExperts report. This way, you can track your return on investments on the report page and optimize campaigns to achieve better results.
Set the CPM (Cost Per Mille).

Native campaigns use CPM to determine what you’ll pay for the traffic you receive. This is usually charged for every thousand impressions.
If you already know how much you want to spend on your display ads, set this amount in the Budget section. You can have it Unlimited or pay Per Day.
You can also Schedule the start and end of your campaign or choose to have it running indefinitely.
To reach your target audience in different locations, use the Geo-Targeting feature, which allows you to choose specific countries to run your ads. To select locations, type the country in the search box and click on it from the list.
You’ll also be required to select a Campaign Category. The category you choose from our list should represent the topic of your ad.
Move on to select Supply Partners from the list or run your campaign on all sources.
You can also select inventory type. It can be either Web or In-app.

Moving to Source Sampling, this is good for testing as many sources as possible. To do this, you have just to select the number of Impressions Per Source, Publisher ID, Domain ID, etc., per period of time.
You can also select Clicks Cap. This allows you to set the number of times that your ad displays to the same user. Please note that you have to select one click per person daily if you only want to receive unique users.
Using Technology Targeting, you can target your audience according to devices, browsers, and connection type.
Once you set the criteria for your campaign by filling in all the details above, you can click on the Create a Campaign button or click Advanced Settings.
In the advanced settings you can:
Once done with the advanced settings, you can now click Create a Campaign.
You will be automatically redirected to your Dashboard.
Your campaign will be active but will have the status Not Delivering.

Please note that the Native campaign takes up to 24 hours for its Creative to be approved.
This is in order to check if the Creative follows all the rules of our advertising.
You can check if your ad content is eligible by checking our QuickStart guides on the BuyWebTrafficExperts website or by contacting our support team.


buywebtrafficexperts.com is a registered trademark
Contact: +1 917 7958180
COC: 58114785
VAT: NL852880595B01
Laat 49, 1811 EB Alkmaar, Netherlands
Copyright 2011- © REBEL Internet B.V.


